- Customer Support
- RICOH DTG University
- Printing Basics
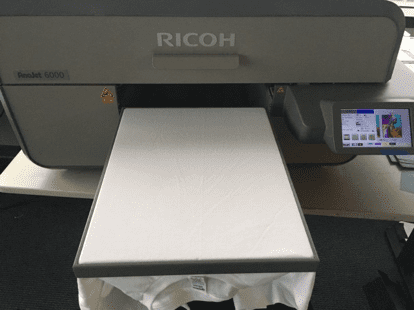
Loading Shirts onto the Platen
The recommended technique for loading a shirt on the platen for a standard print
- Remove the hoop from the print table.
- Place the shirt face up on the table with the top collar closest to you and pull the collar off the end of the table so that it just falls off the edge of the table.
- Lift the sides of the shirt to verify that the shirt is centered on the print table.
- Smooth the shirt and place the hoop on top.
- Pull on the edges of the shirt that extend past the hoop to flatten any bumps or wrinkles.
- Tuck the shirt under the table and into the garment tray to prevent the garment from catching on any interior parts of the printer.
Placing the shirt onto the print table
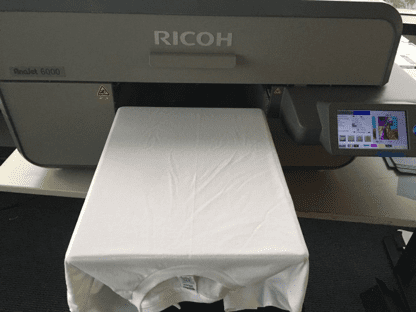
Placing the hoop onto the shirt